It’s important to keep your drain clean and protect it so it stays in place.
Always wash your hands with soap before and after emptying your drain.
Use the tab to fasten the drain to your clothes with a safety pin. Fasten it below the level of where it comes out of your skin so it can drain properly. Be careful not to put a hole in the drain bulb or tubing with the safety pin. Don’t let the drain pull on the area where it’s inserted.
At first, the fluid (drainage) may be bloody. Over time, the drainage colour will change from red to pink, then to light yellow or clear as your wound heals and the drainage goes away.
You’ll have different amounts of drainage from day to day. It should become less over time.
A bit of drainage may leak around the drain site. Put a gauze dressing over the site and change the gauze when you need to so the site stays dry.
If you can’t collapse the bulb after emptying the fluid, your drain may not be working properly. Call your surgeon’s office and ask what to do.
If your drain accidently slips out, even a bit,
NEVER try to push it back in. If your drain falls out completely, put a dressing over the site and call your surgeon’s office.
Emptying the drain
Empty the drainage container every 8 hours or whenever it looks half full.
To empty the drain, follow these steps:
- Wash your hands well.
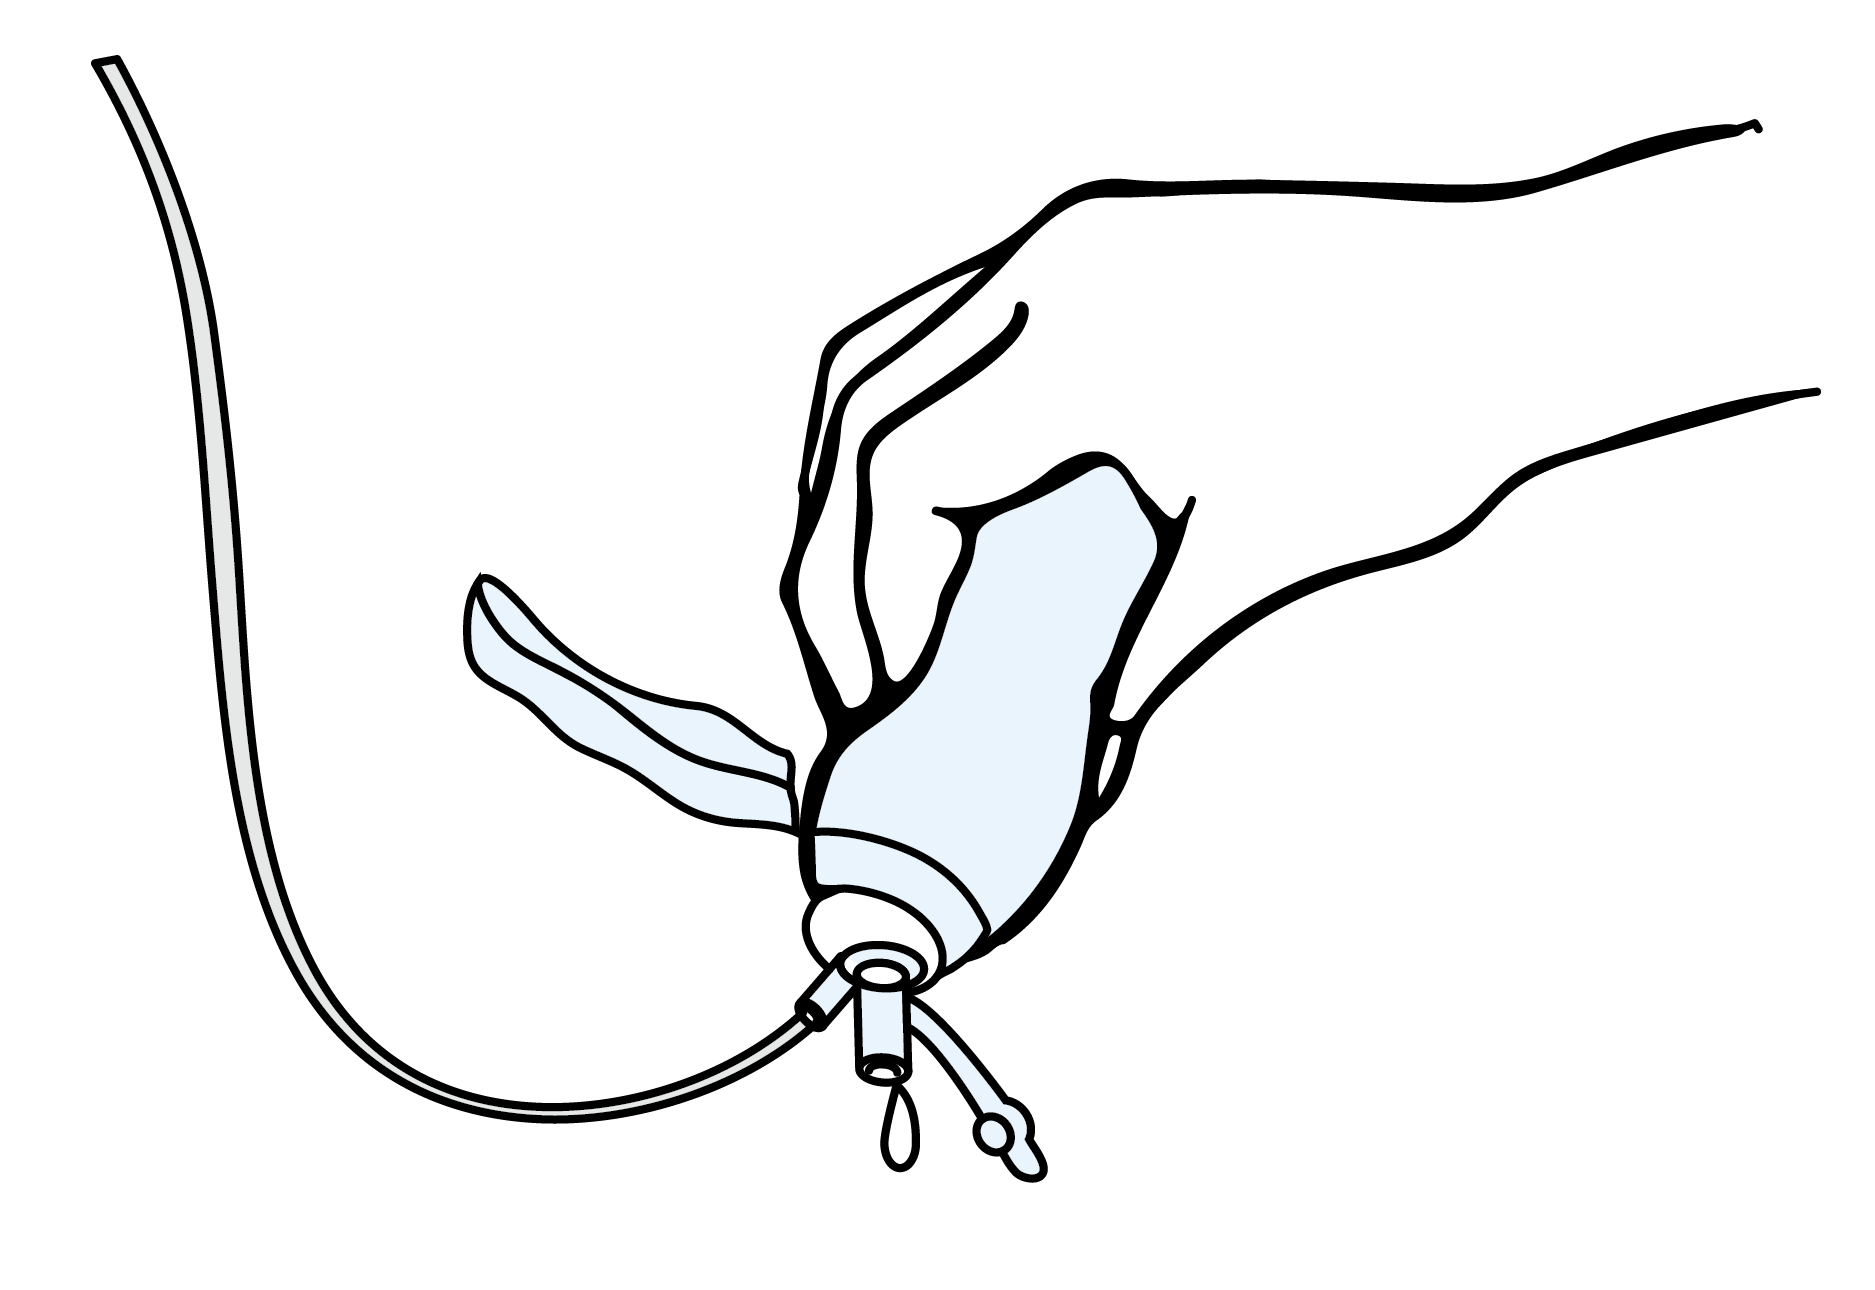
- Open the port (opening) of the bulb by lifting the cap off.
Illustrations used and adapted with permission of B.C. Multimedia Services
- Squeeze the fluid out from the port into a small measuring container.
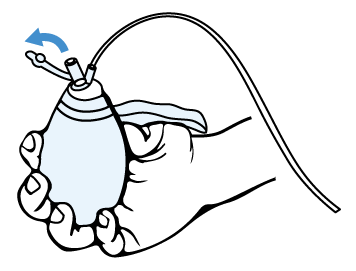
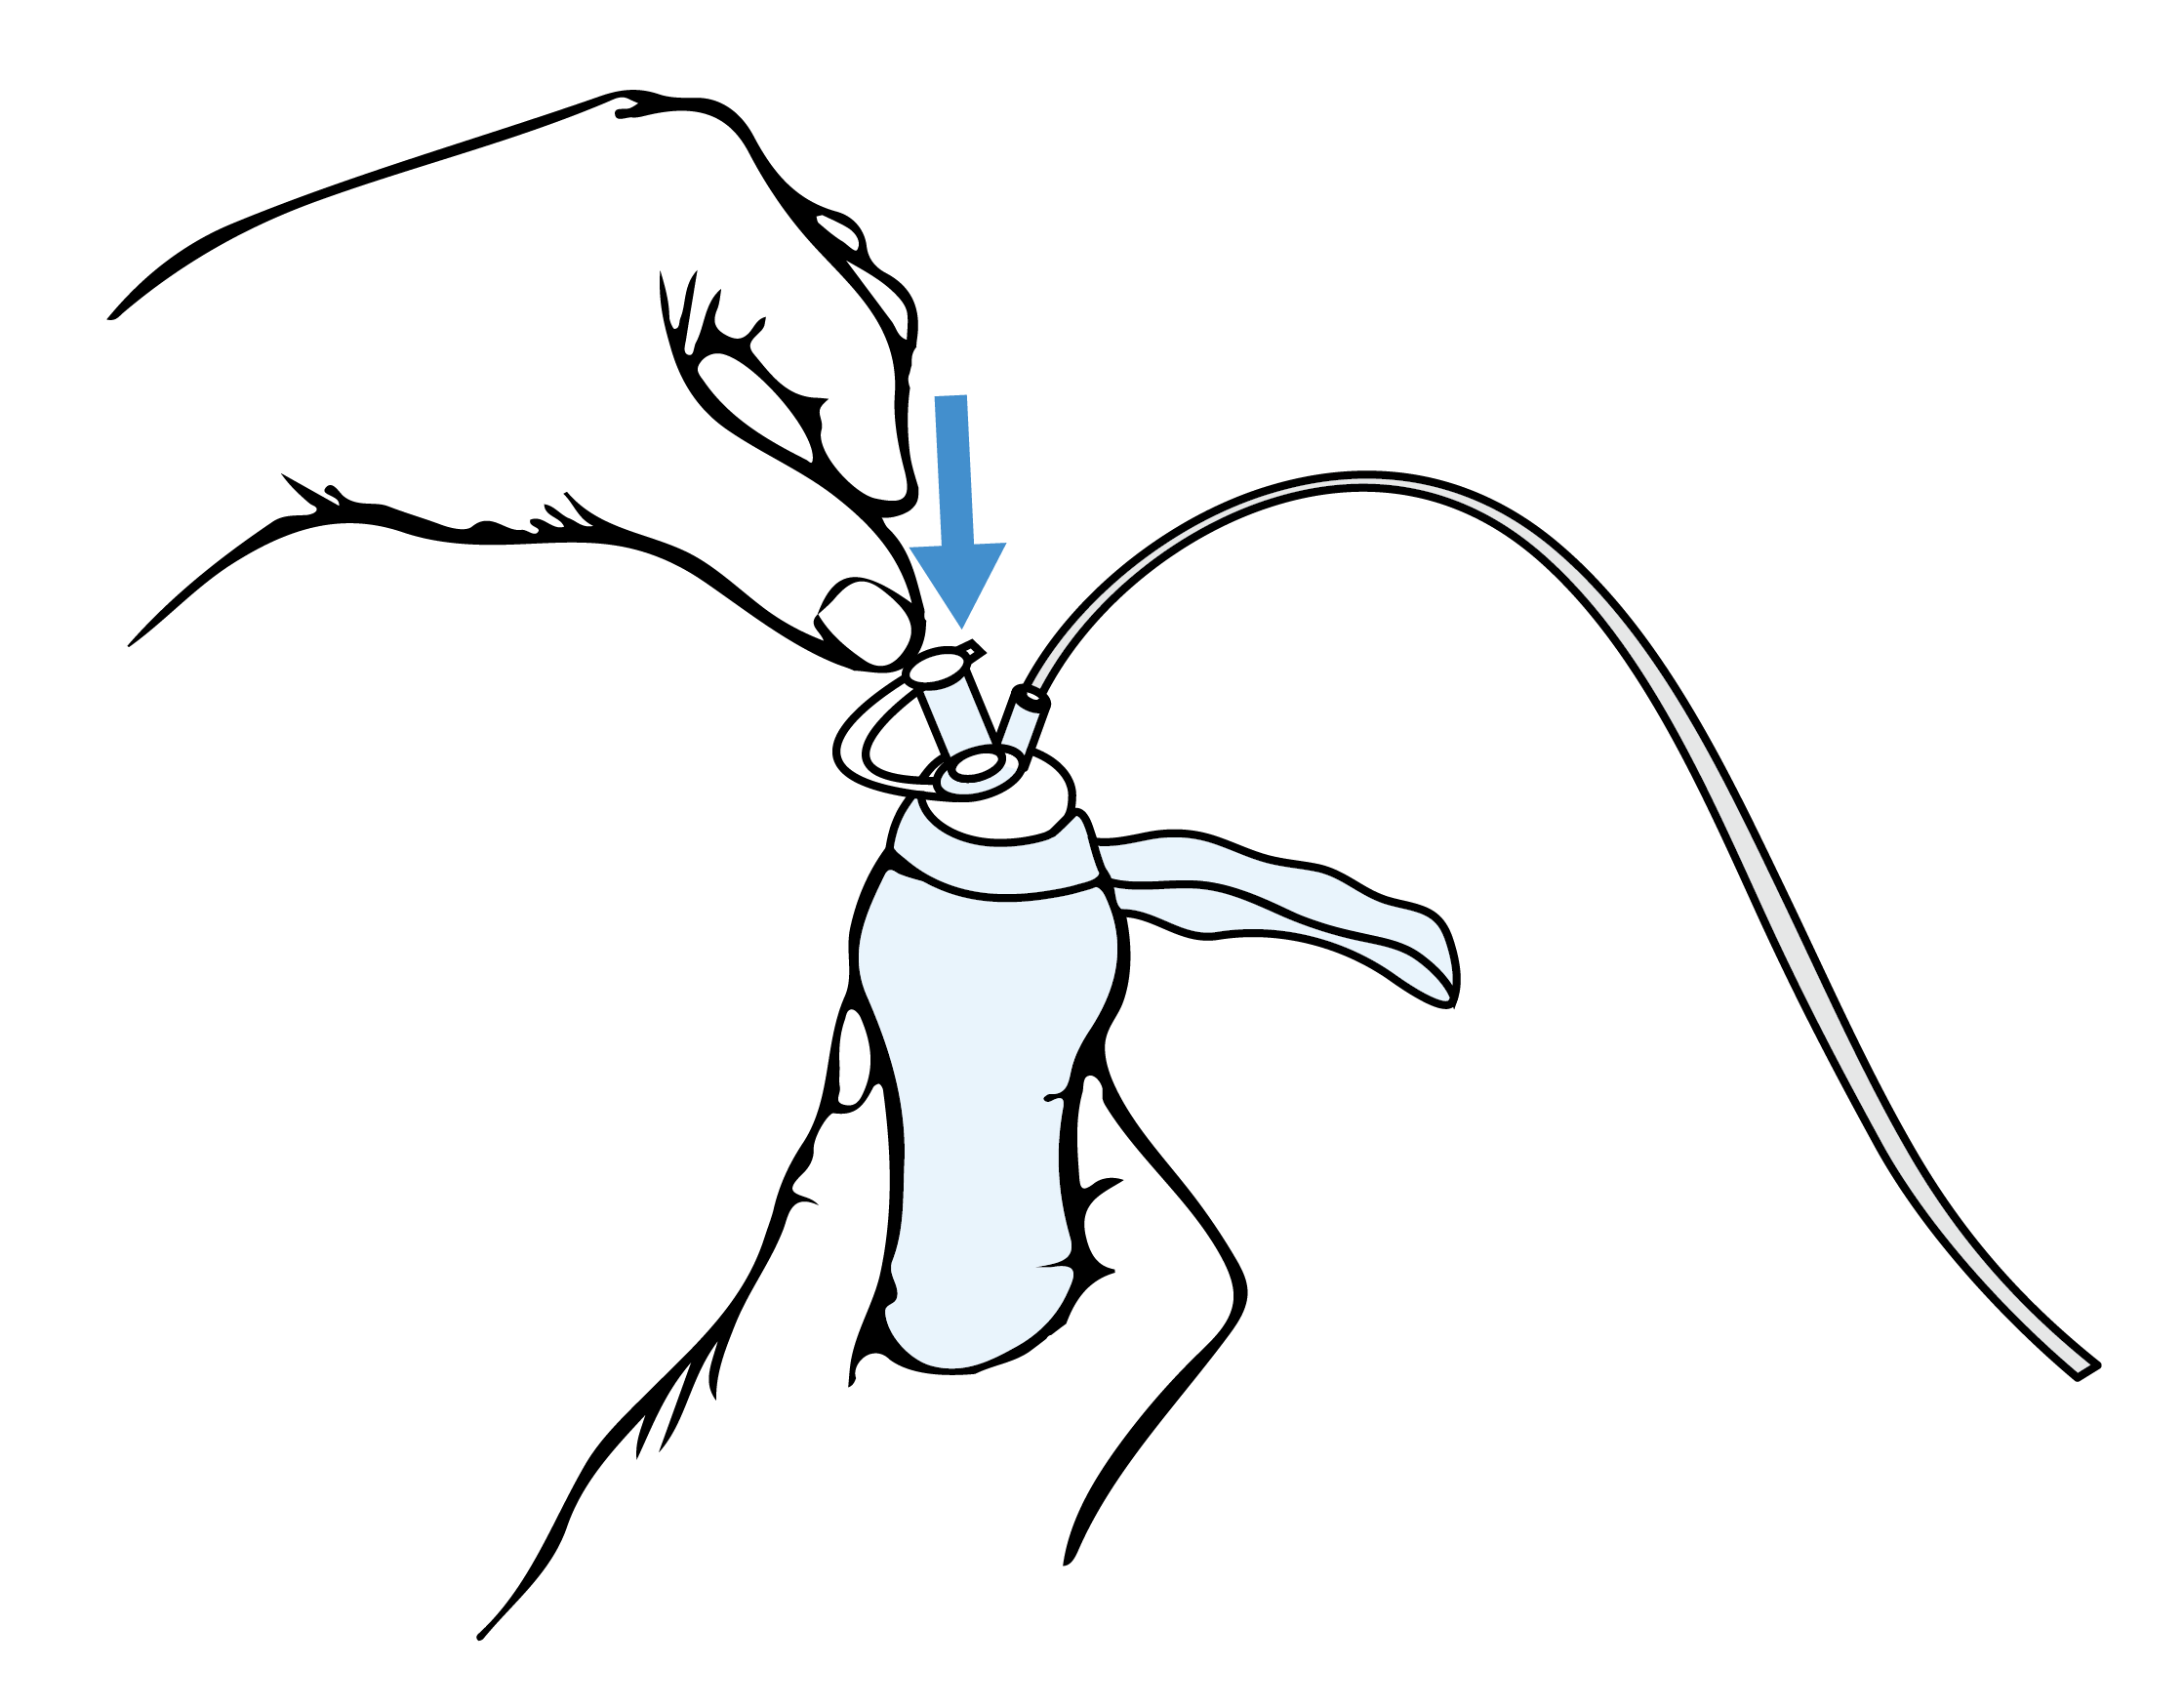
- Squeeze the bulb until it’s flat. This gets the air out of the bulb. Keep the bulb flat while you close the port by putting the cap back on. This creates the suction that pulls the fluid from your body into the bulb.
Illustrations used and adapted with permission of B.C. Multimedia Services
- Measure the fluid then flush it down the toilet. Record the amount, date, and time on your drainage record.
Open and print this Drainage Record,
follow the instructions on the print-out and bring this record with you to your follow-up appointment.
- Wash the measuring container with hot soapy water by itself. Do not wash it with regular dishes.
- Wash your hands when you’re finished.
Don’t rinse or do anything to the inside of the drain.
Milking the drain
You may see some air bubbles or pieces that are stringy, white, or bloody in your tubing or drainage container. This is normal.
It’s important to make sure the tube doesn’t get clogged. “Milking” the tube may help to move small pieces of tissue or clots out of the tube. This helps make sure it can drain properly. In general, you do this when:
- You see a clot in the tube that is stopping the fluid from draining. The clot may look dark and stringy and it may even look like tissue.
- You see fluid leaking around where the tube goes into the skin.
- You think there’s no suction in the drain.
- You see a decrease in the amount of drainage.
How to milk your drain:
- Wash your hands and put 2 drops of lotion on your fingertips.
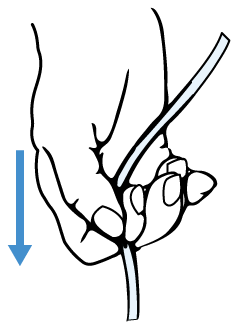
- Near the insertion site, pinch the tube firmly with your forefinger and thumb.
- With your other hand, use your forefinger and thumb to squeeze and slide down the tube halfway to the container. Keep the tube pinched.
- Bring your other hand down to just above where the tube is pinched. Repeat step 3 to milk the lower half of the tube right down to the container.

Illustrations used and adapted with permission of B.C. Multimedia Services
If you see drainage around the skin where your drain is inserted and your drain is no longer draining fluid, then your drain may be blocked. If you can’t remove the blockage by milking the drain, contact your surgeon’s office.
Removing the drain
Your drain is usually ready to come out when your body can absorb the fluid on its own. This is
usually when your drainage is about 2 tablespoons (25 to 30 mL) or less in 24 hours. Your surgeon will tell you when your drain can be taken out and how to arrange to have it removed.
Related Video
|
Drain Care
Describes the steps of caring for the drain and the drain site in the first 1-2 weeks after a mastectomy (breast surgery).
|
 |